How to Paint Wood Paneling
Yes, you can paint wood paneling. And, it can look terrific or it can look terrible. Use this step-by-step guide to get it done right.
Our editors and experts handpick every product we feature. We may earn a commission from your purchases.
Introduction
Ask any painting pro and they'll tell you that a great paint job follows great prep work, and that applies to wood paneling, as well. According to professional painter, Eric Regan of Mission Painting & Home Improvements, three factors underlie the preparation for any flawless paint job: a clean surface, a dry surface and a dull surface.
If you plan to apply oil-based paint, plan to stay somewhere else for a few days until the fumes disperse. According to Regan, you should plan to be out of the house for two days after the top coat is applied.
Tools Required
- Paint respirator mask
- Paint sprayer
- Palm sanding block (manual)
- safety goggles
- Shop vacuum with brush-tip accessory
Materials Required
- Painter's tape
- Primer
- Thin plastic sheeting
- Top coat paint
- Wood-filling compound (the pink stuff)
Project step-by-step (8)
Make Sure the Wood Paneling Is Clean
Hairspray, wallpaper glue and oils of all kinds disrupt the chemistry of paint and can result in an unacceptable paint job. Wood-paneled walls located near a kitchen or bathroom should be washed before painting. All other paneled walls should at least be dusted, and washing is preferred.
If you love the look of barn wood, you can save money by making it yourself! Watch this video to learn how.
Scuff Sand
Regardless of whether your wood paneling is stained and varnished, or if it has a glossy veneer, begin this project by dulling the surface. Sand the paneling lightly with sandpaper in the 180- to 220-grit range. The point is not to remove the layer of varnish or gloss, but to scuff the surface so that the paint clings to it. Otherwise, says Regan, it will scrape off as easily as frost from a windshield. Follow the sanding by thoroughly vacuuming the surface using your shop vacuum’s brush attachment.

Mask the Room
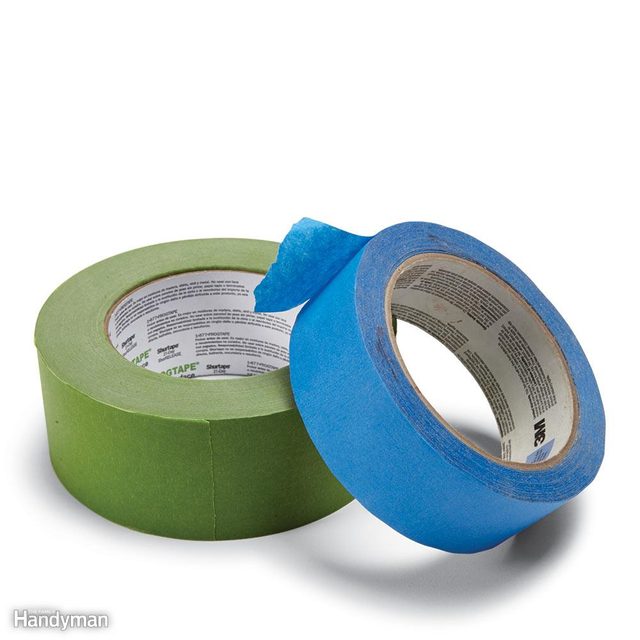
Prepare the room for painting by masking off everything that should not collect paint with painter’s tape and plastic sheeting. Seal the doors and archways so that paint cannot drift into other parts of the house.
Prime the Surface
Spray on the first coat of primer. Yes, spray. Regan says that wood must be sprayed for a smooth finish. A heavy coat of brushed-on paint causes fine carpentry to lose its sharp edges and makes everything look like it was dipped in paint. You can rent a sprayer by the day or purchase one if you plan to do more painting.
Wear safety gear such as broad-coverage goggles and a painting respirator. And consult this guide to safe and healthy spray painting.

Fill Imperfections
Fill in the grain and other irregularities with wood filler compound (Regan recommends the pink stuff) and a putty knife. Part of the beauty of stained wood is the grain. Once painted, however, that grain becomes an eyesore. The same can be said for poorly-filled nail holes or cracks in the wood. After the primer dries, these imperfections will stand out. If your paneling has a heavy grain, expect to use a lot of filler on your wall. Allow the filler to dry completely.
Sand (Again!)
Sand the wall smooth again, being careful not to sand through the primer coat. Then clean the surface again with the shop vacuum.
To Prime or Not to Prime?
If a large percentage of the wall required filler, another coat of primer may be prudent. If you choose this route, make it a light coat to avoid building up too much material on the wood. Allow the primer to dry, then sand lightly and vacuum.
Apply the Top Coat
Spray on the top coat, starting with a fuller layer of paint, but not so heavy that you create drips and runs.
You may choose a latex paint for your top coat, but Regan counts on the smooth and durable results he gets with oil-based paint. His second choice: A hybrid water-based alkyd paint.
Once dry, sand lightly just to dull it a bit and vacuum the loose material. Spray a thin and even top coat on the paneling. Allow the paint to dry thoroughly, then remove the masking and enjoy your beautiful new walls.
Completely change the look of a room in one weekend by installing painted strips of MDF.


