The Easiest Way to Hang A Gallery Wall
Updated: Feb. 27, 2023Learn how to create a gallery wall with these simple steps.

Step 1: Gather Your Supplies
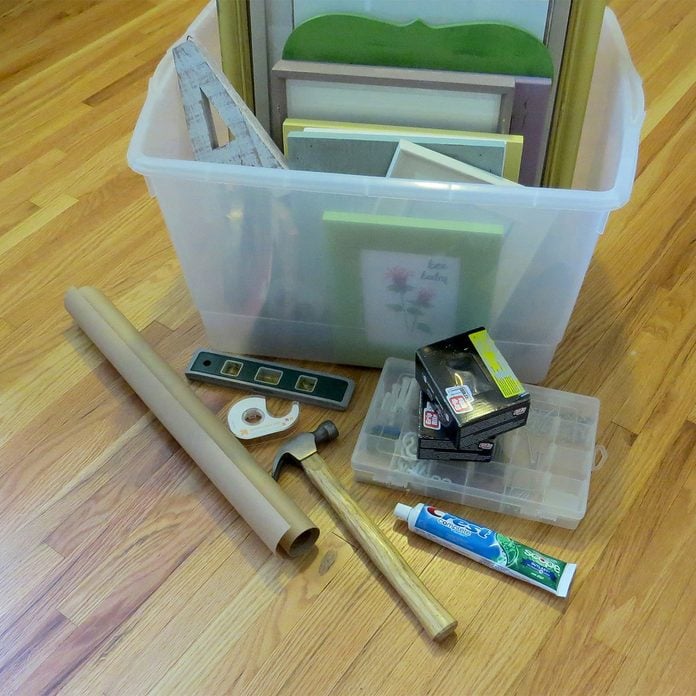
Gather your gallery pieces and needed supplies. A gallery wall can look orderly with consistent photos (such as all black and white) or frame styles (such as all wood or metallic), or it can take on a collected look with a variety of colorful photos, artwork, frame styles and three-dimensional décor. Just make sure each piece is ready to hang with a proper hanger or hook.
Tip: Gather a variety of sizes of objects from large to small to create an interesting visual hierarchy.
Supplies:
- Variety of gallery wall pieces
- Roll of paper
- Tape
- Nails or screws and anchors
- Hammer
- Toothpaste
- Pencil
Step 2: Prep the Wall
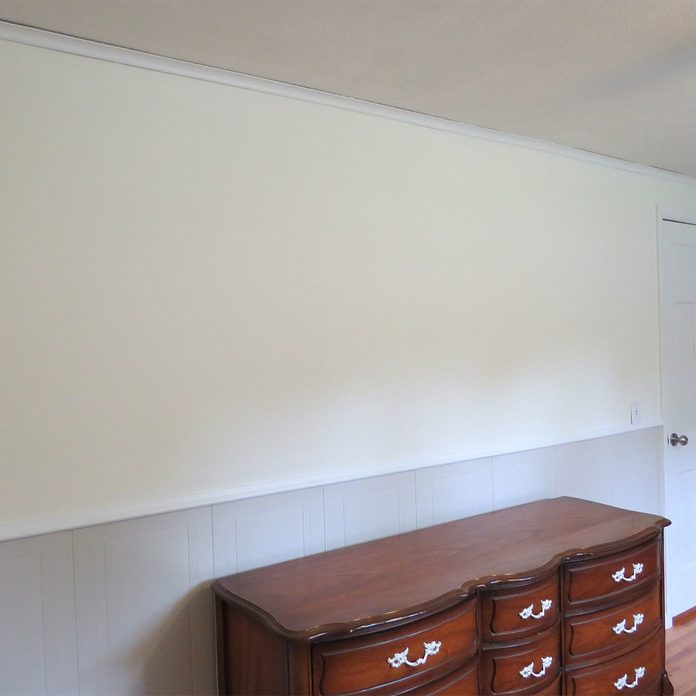
Prep your designated wall. This may mean a fresh coat of paint or a simple touch up or wipe down. It may be helpful to move furniture away from the wall temporarily. Use these tips for how to paint a wall quickly.
Tip: Mark where any furniture rests against the wall. This will help to avoid overlapping when determining your gallery layout.
Step 3: Make Templates

Trace and cut out all gallery pieces on paper to create templates. Simple wrapping paper will all do the trick.
Tip: Write the name of each paper template after cutting it out to avoid any confusion as to which gallery piece it corresponds to.
Step 4: Mark Nail or Screw Placement
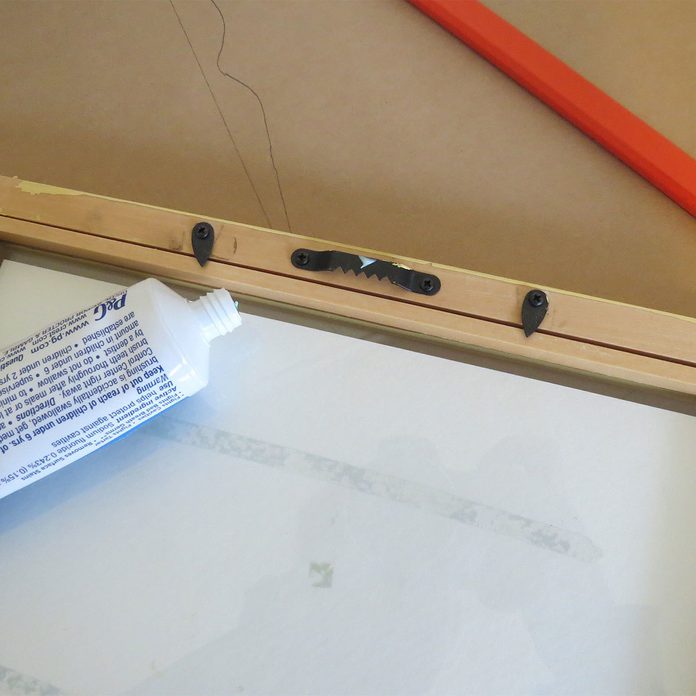
Mark the nail placement on each paper template by laying it over the backside of the frame or artwork and tracing the hanger’s edge. Mark this nail spot with an X.
Tip: You can also place a small dab of toothpaste on the hanger and then press it against the template once it’s on the wall. Remove the frame, and the spot of toothpaste on the template will mark the nail’s placement.
Step 5: Lay Out the Templates

Use tape to layout the templates on the wall, making adjustments until you are satisfied with the overall placement. Anchor larger pieces towards the middle and then fill in outward with medium- and smaller-size pieces.
Tip: It may be helpful to arrange the actual gallery pieces on the floor first and then tape the templates to the wall, copying the floor arrangement.
Step 6: Add Nails or Anchors and Screws
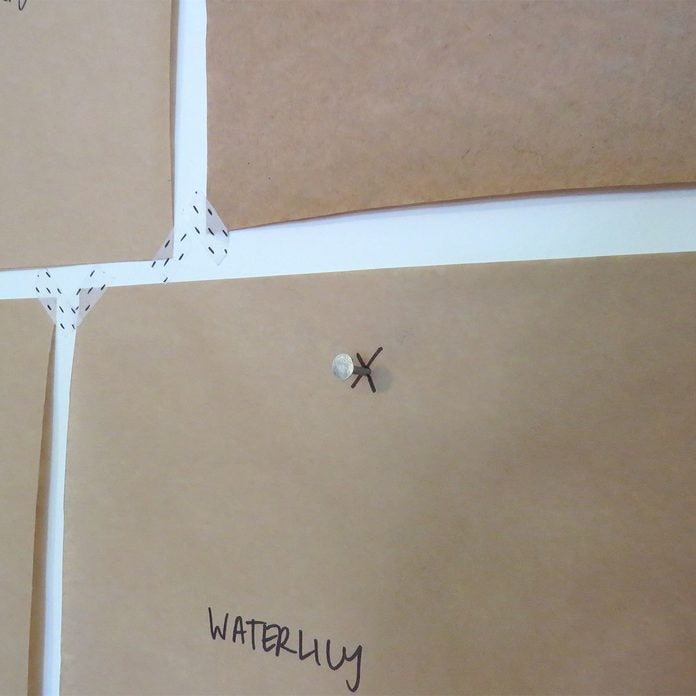
Once your template arrangement is final and taped on the wall exactly where they will hang, hammer a nail through each template’s marked X. Tear away the paper template and the nail is ready in perfect position to hang each gallery piece.
Tip: Use anchors for heavy pieces and nails for lighter pieces.
Step 7: Remove Templates and Hang Art
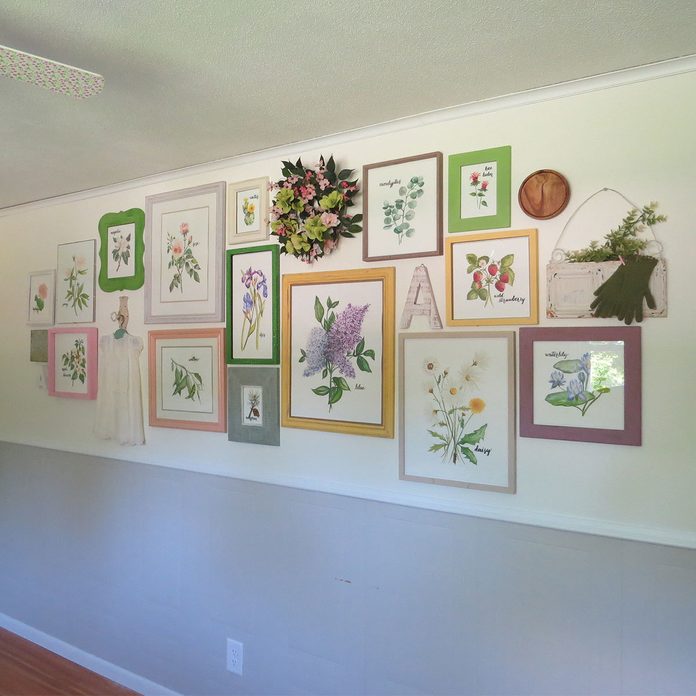
Hang each item in its spot and enjoy your masterpiece!