
Saturday Morning Workshop: How To Build Hexagon Shelves
 Updated: Feb. 17, 2023
Build these modern shelves to spice up your living space and add a bit of storage.
Beginner
Introduction
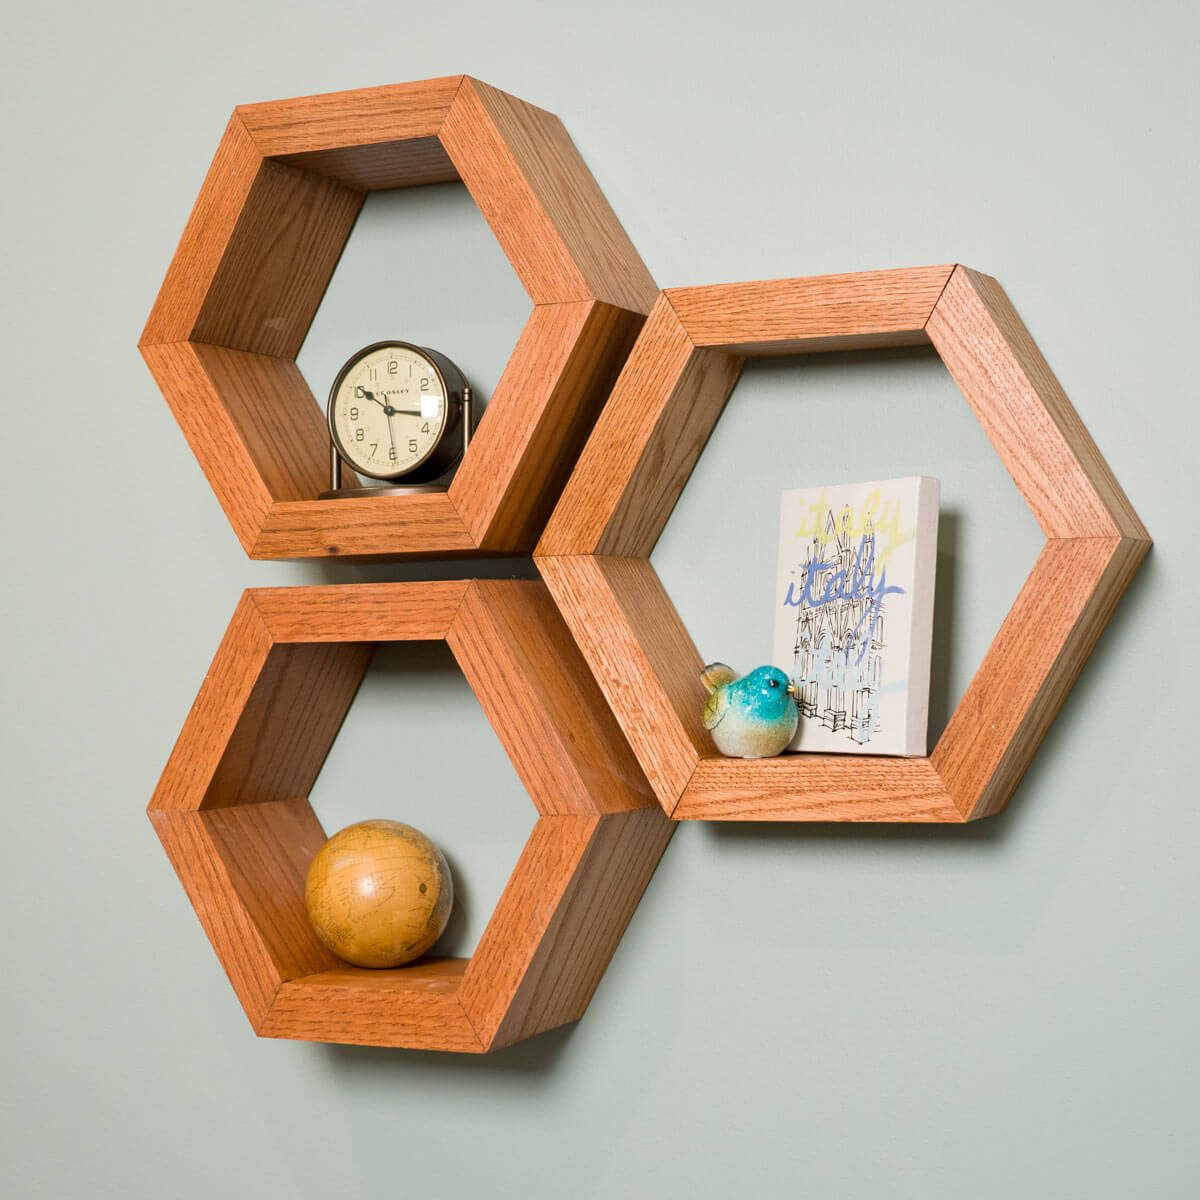
Hexagon or honeycomb shelves have become very popular in the DIY world recently. The reason for this is that they are interestingly designed, different from the norm and incredibly easy to build. You can push out six of these in an afternoon and not break a sweat! We used 2x4 red oak lumber because we like its depth and thickness once it’s finished and mounted, but you can use any size you want. Red oak is a very hard wood and can be difficult to deal with, but with some patience, it works just as well as any other species. This build involves gluing end grains together, which is an untrusted method of joinery for some, but it will work just fine for this build as these shelves aren't meant to hold heavy items. If you want to shore up your shelves, use some dowel pins or biscuits to make the joints as solid as possible.Tools Required
- Table saw
Materials Required
- 4’ of 2x6 lumber (one shelf)
- Painter's tape
- Wood glue
Project step-by-step (4)
Crosscut Angle Into the Board
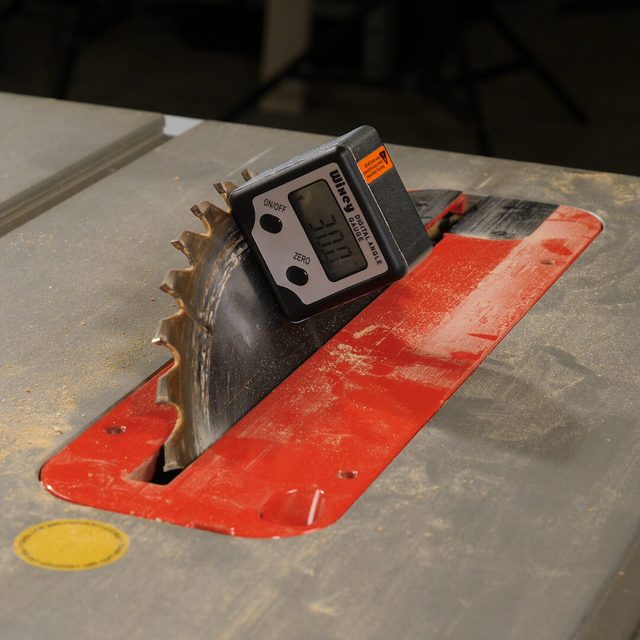
A little bit of math is involved with this build. A symmetrical hexagon has internal angles of 120 degrees, half of which is 60 degrees. The complementary angle of this is 30 degrees. This is the angle that you need to set your saw to. I have a digital angle finder, so I tend to use a table saw and miter gauge to get exact measurements, but it would be very easy to use a miter saw if your saw can be locked at 30 degrees. Crosscut one of the ends of the board for an initial angle.
Set Up a Stop & Complete the Cuts
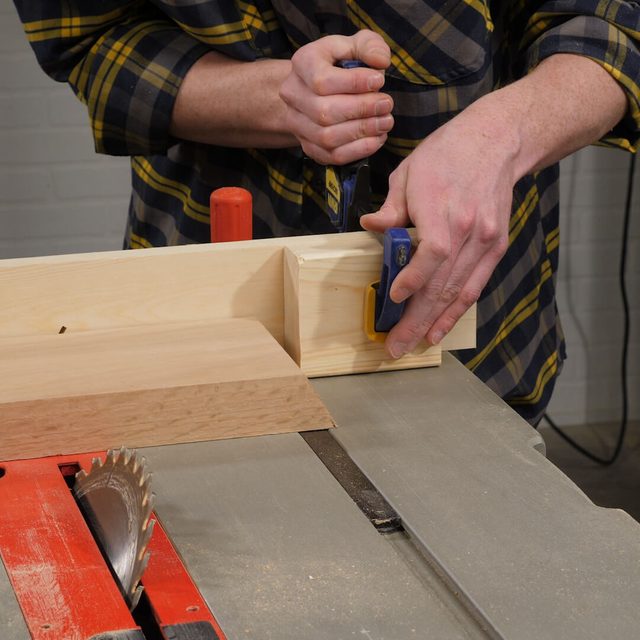
Attach a stop with a clamp (or screw the block to the temporary fence) at 7 in. along the miter gauge to get consistent cuts. Cut six boards to get all of the pieces for the build.
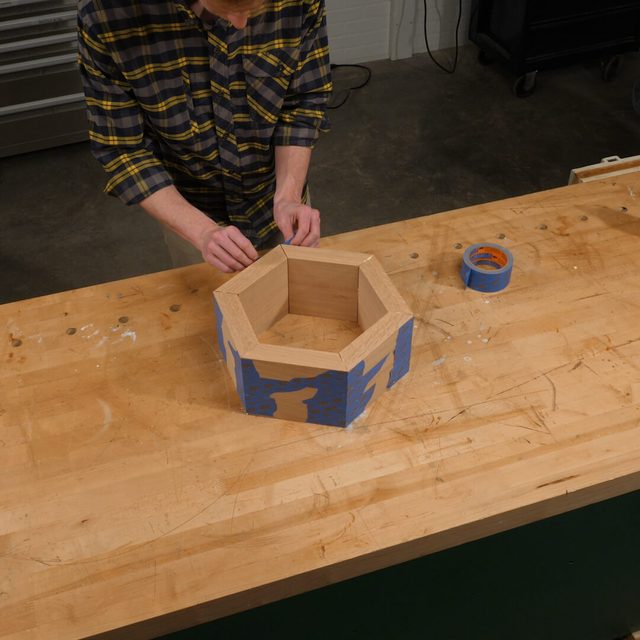
Tape Boards Together
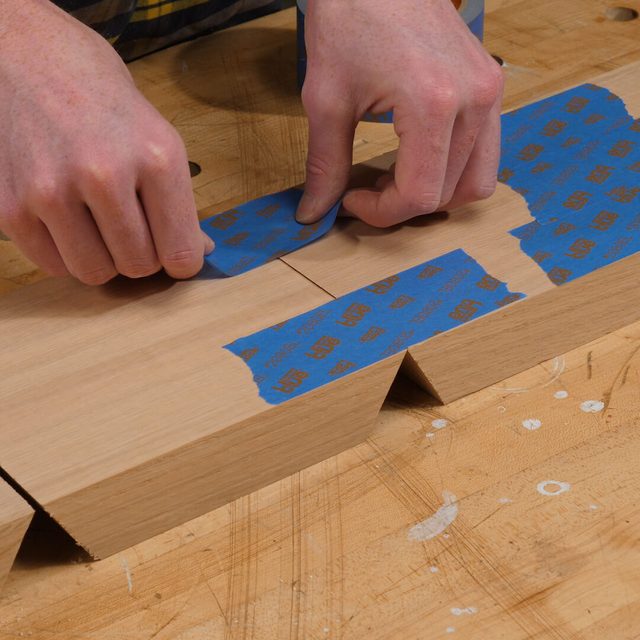
Clamping the boards together with traditional clamps can be fairly complex and tedious. I like to use painter’s tape in these situations. It’s easy to remove and doesn’t affect the wood, but holds well enough to get the job done. Tape the boards together with the sharp end grains touching. Mock up the shelf to make sure your angles are good and it fits together.
Glue Boards Together
Glue the end grain of the boards, making sure to spread the glue all the way to the edges. Fold the assembly up and secure it with a few final pieces of tape. Let it dry and add finish to your liking. I have made several of these shelves and sometimes the joints don’t come together perfectly. If you have some handy, you can use wood filler to fill gaps, or there are many other ways to accomplish the same thing with items already in your workshop.