
How to DIY Laundry Room Shelves
 Updated: Nov. 06, 2022
Convert your dreary basement laundry into a functional, organized and finished workspace.
Our editors and experts handpick every product we feature. We may earn a commission from your purchases.
A half day
Beginner
$50-100
Introduction
Need a little more storage space to organize your laundry room?Tools Required
- 3/16 carbide tip drill bit
- Brad nail gun
- Circular saw or miter saw
- Circular saw or table saw
- Clamps
- Drill/driver
- Level
Materials Required
- 1- 1 x 4 x 5 clear pine
- 1- 2 x 4 x 8 Pressure Treated Pine
- 1- 3/4 x 4 x 8 pre-finished plywood
- 1-1 x 6 x 5 clear pine
- 1-1/2-in. brad nails
- 1-1/4-in. brad nails
- 1/4-in. x 2-1/4 in. Tapcon screws
- 2- 1 x 2 x 8 clear pine
- 2” Construction Screws
- Construction adhesive
- water-based polyurethane
- Wood glue
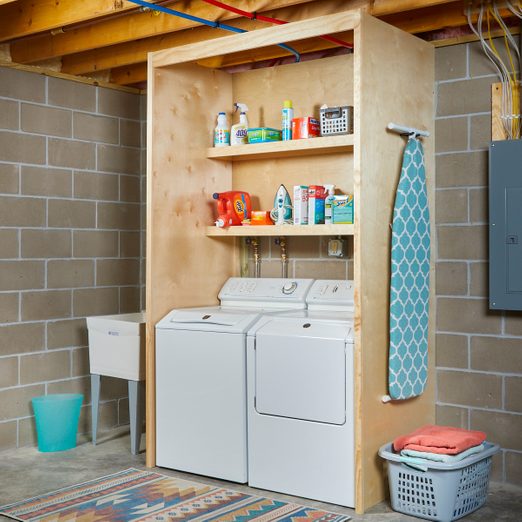
Whether it’s in the basement, a separate room or tucked away in a closet, we could all use a little extra storage to help organize the laundry room. Adding a few shelves makes for an easy storage solution in a small space like this, and it’s an easy project that you can finish in an afternoon.
Project step-by-step (8)
Step 1
Attach Wall Cleats
- Rip the two 2-in. x 2-in. x 8-in. cleats out of the 2-in. x 4-in. x 8-in. pressure treated pine.
- Set your laundry machines in their optimal location, making sure that they are leveled properly.
- Mark two vertical level plumb lines up from either side of the machines to place your wall cleats.
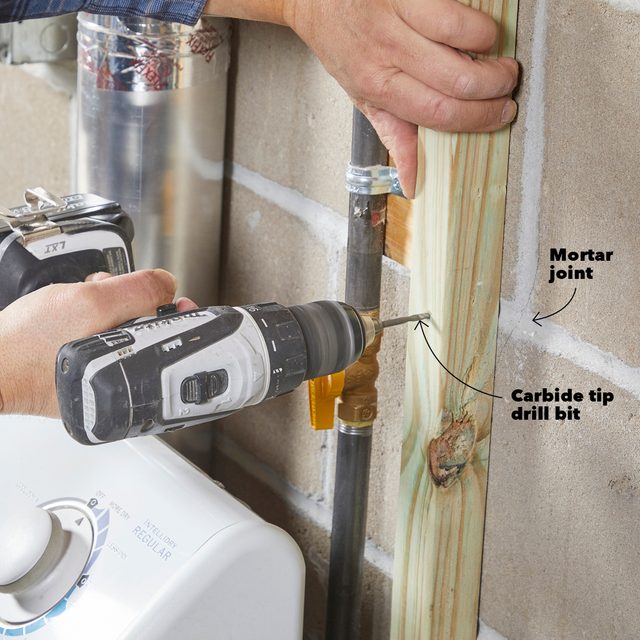
- Place the bottom of the 2-in. x 2-in. cleats on the floor, attach them with construction adhesive and Tapcon screws.
- Pre-drill with a carbide tip bit. Use only four to six fasteners; the construction adhesive will do the rest.
- If you have mortar joints, it’s easier to drill there than directly into the cement block.
Step 2
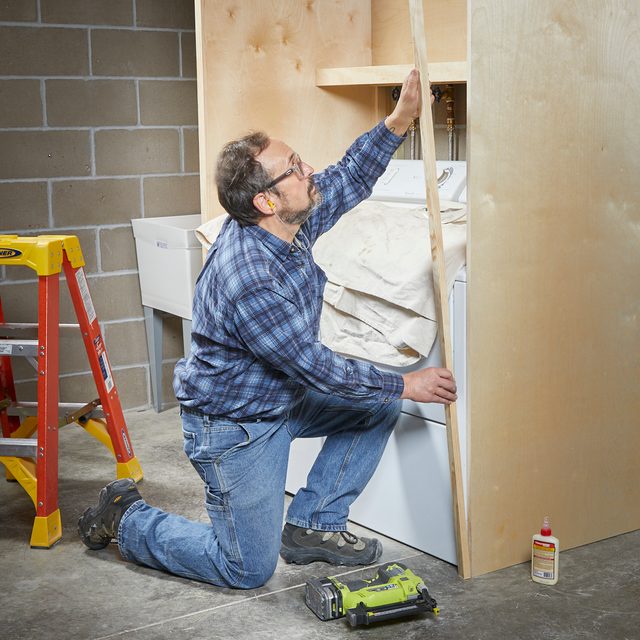
Attach Side Panels
- Attach the side panels to the wall cleats using construction adhesive and 2-in. screws.

Step 3
Install Back Panel
- Each laundry will have different utility configurations to consider.
- To maintain access to my shut-off valves and outlet, I started my back panel above those fixtures.
- I needed 4-1/2-in. of clearance for the dryer vent pipe so I attached the back panel cleats accordingly with nails and adhesive. Clamps on either side helped support the back panel while nailing into place.

Step 4
Install Shelf Cleats
- Layout spacing for shelves.
- Draw level lines or use a torpedo level and install the cleats with nails and adhesive.

Step 5
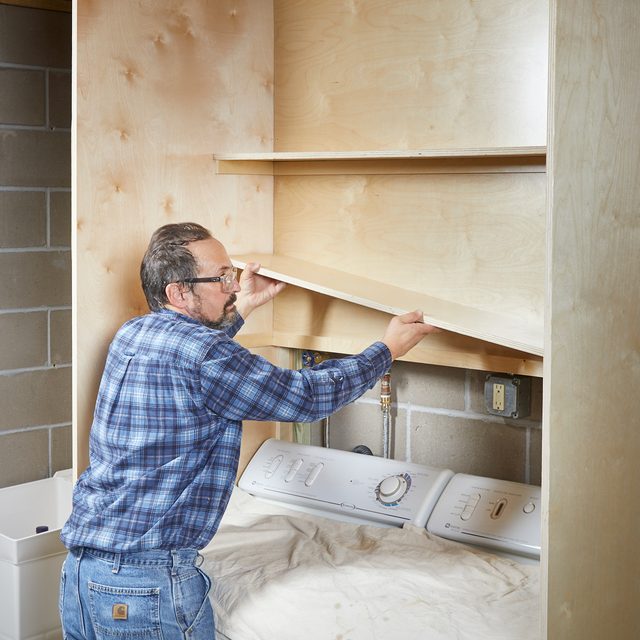
Install Shelves
- Set the shelves in place and nail them from the top of the shelf into the cleat below.
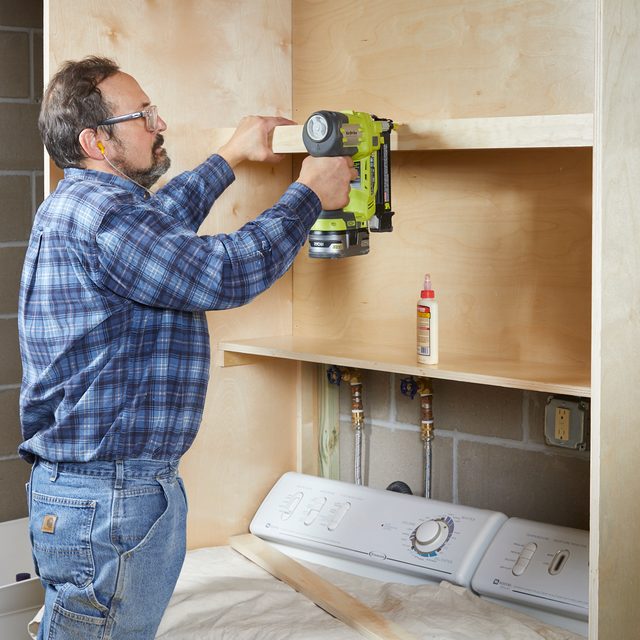
Step 6
Install Top Support
- Nail the two support pieces together with adhesive.
- Nail the support to the side panels.
- Use a clamp as a helping hand.

Step 7
Add Shelf Trim
- Rip the 1-in. x 6-in. x 5-in. into two 2-5/8-in. strips, then cut to length.
- Attach the trim to the front of each shelf with wood glue and nails.
Step 8
Attach Panel Trim
- Hold the inside edge of the side panel trim flush with the panel and attach with wood glue and nails.
- Measure the distance between the two side trim pieces and cut the 1-in. x 4-in. x 5-in. to fit.
- Attach the top trim with glue and nails
- Finish the panel trim and shelf trim with two coats of water-based polyurethane.
Originally Published: May 19, 2021