
How to Assemble RTA Cabinets
 Updated: Jul. 23, 2021
Assembling cabinetry is not as difficult as you might think. We'll show you how.
A few hours
Beginner
Varies
Introduction
Ready-to-assemble (RTA) cabinets are an affordable alternative to custom cabinetry. You can achieve a gorgeous custom cabinet look in your kitchen without breaking the bank. Assembly is much easier than you think; here's the step-by-step process.Tools Required
- Damp cloth
- Drill/driver
- Magnetic driver bit holder
- Phillips bit
- Rubber mallet
- Worktable
Project step-by-step (11)
Step 1
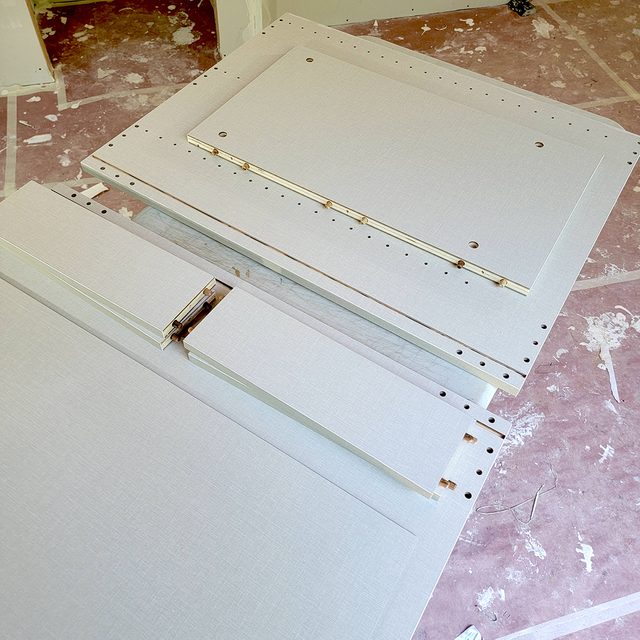
Identifying Parts
- Start by opening the box. If you are using a utility knife, don’t cut too deeply because you could scratch the parts. Grab those assembly instructions and make sure you have all the parts and hardware. For the base cabinet, you should have two sides, one bottom, one back panel, four support rails and one adjustable shelf, plus dowels and hardware.
- Identify the right and left sides of the cabinet by the 1/4-in. groove near the back edge of each panel. Identify the bottom of the cabinet sides by the holes drilled near the bottom edge; ours had nine holes.
Step 2
Glue
- Lay both side panels flat with the holes pointing up and the back edges facing each other.
- Squeeze a small amount of wood glue into all the dowel holes on both sides. Do not put glue in the through-holes.
Step 3
Install the Bottom
- Align the 1/4-in. groove on the bottom board with the 1/4-in. groove on the left side.
- Insert the bottom six dowels into the six dowel holes on the left side.
- Using a rubber mallet, gently tap the edge of the bottom to drive the dowels into the holes. Wipe away any excess glue with a damp cloth.

Step 4
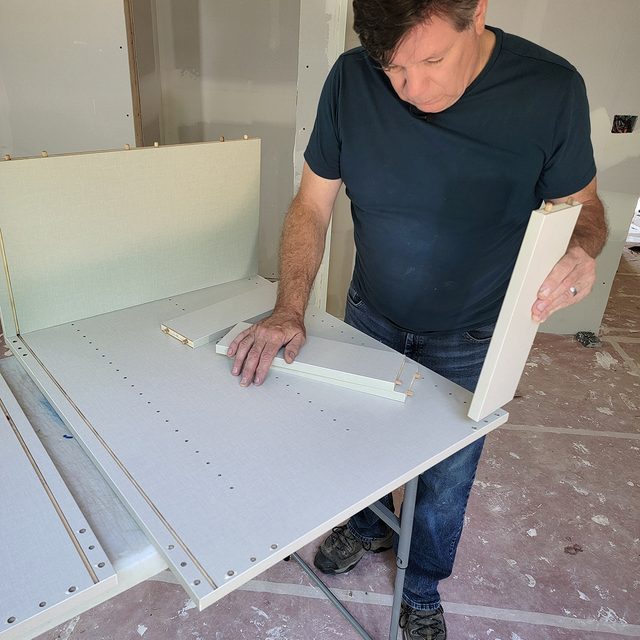
Install Support Rails
- Each of the support rails is drilled universally — there is no wrong way to install them.
- Install two support rails into the four dowel holes along the top edge of the left side. (See photo.)
- Now install two support rails into the dowel holes along the back edge of the left side, just behind the 1/4-in. groove. Gently tap all the support rails with a rubber mallet.
Step 5
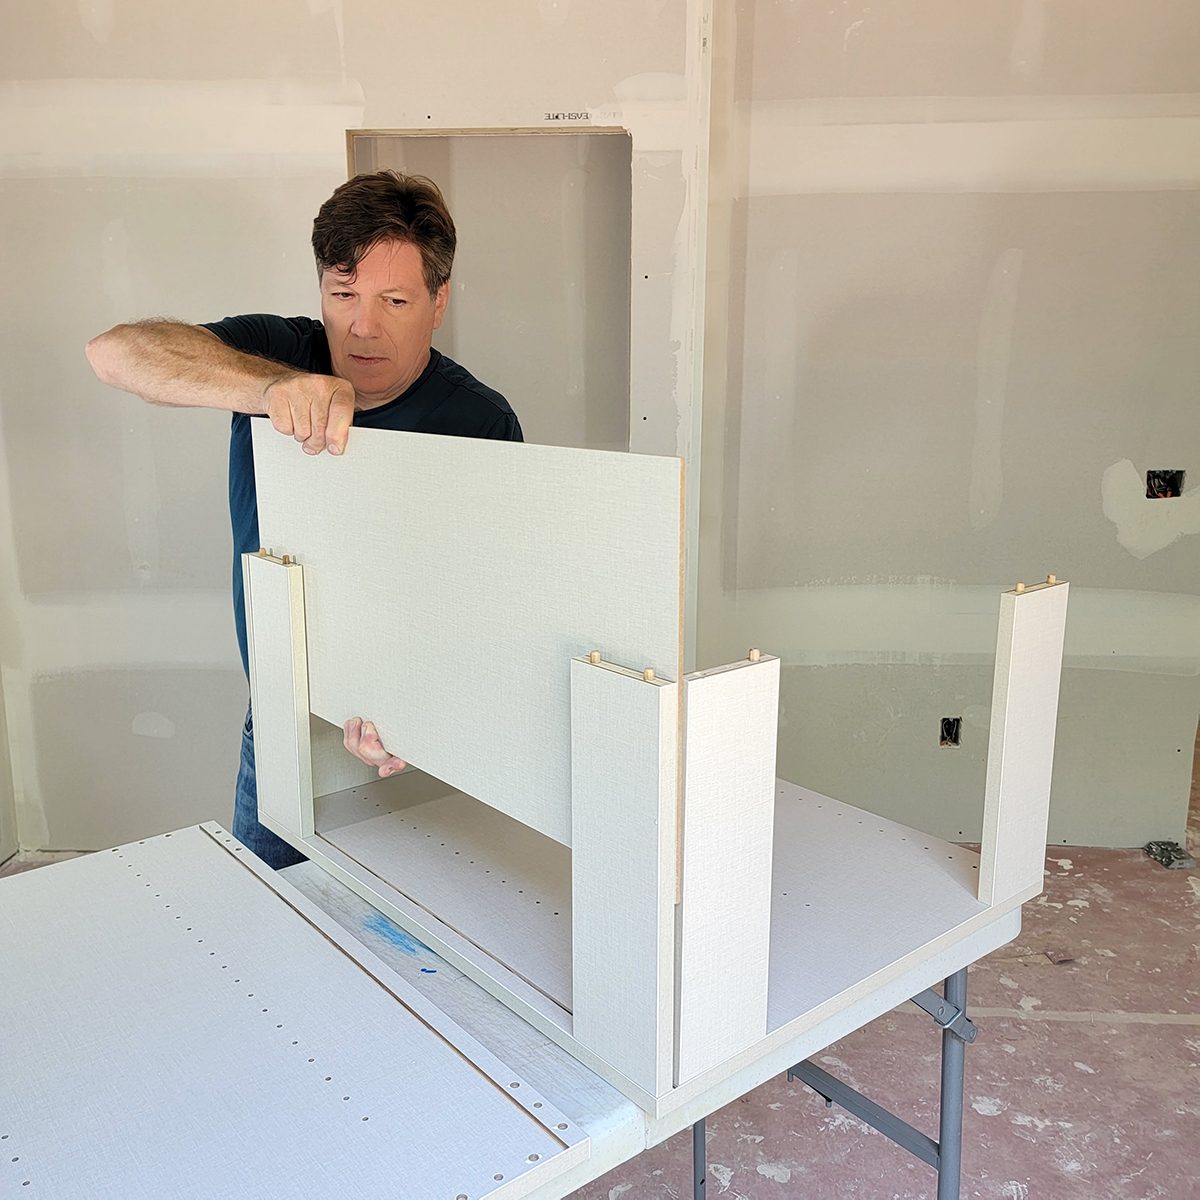
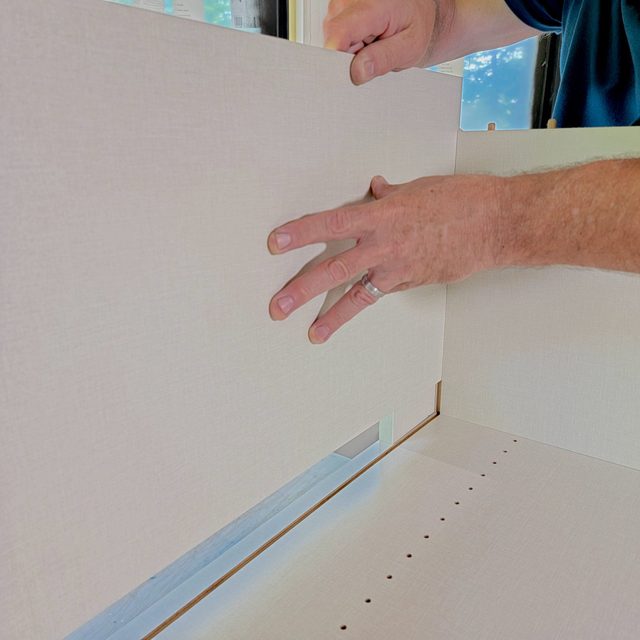
Insert the Back Panel
- Fit the back panel into the 1/4-in. groove on the bottom panel. Slide the panel down and fit it into the groove on the left side.
Step 6
Attach the Right Side
- Flip the right side over and align the dowel holes with the dowels in the bottom panel and support rails while allowing the back panel to fit into the right side groove. Work quickly so the glue doesn’t drip all over. Gently tap the right side with a rubber mallet. Wipe away any excess glue with a damp cloth.
- Secure the cabinet together with the provided lag screws into each of the seven holes on both sides.

Step 7
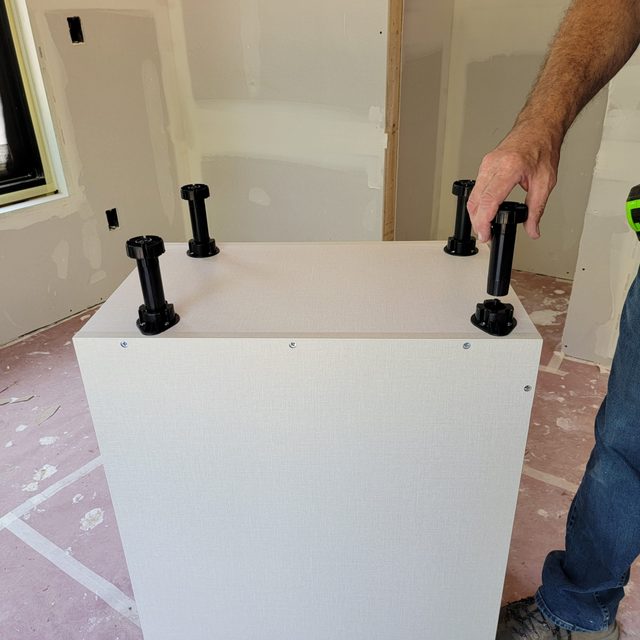
Attach the Legs
- Insert four legs into the pre-drilled holes on the bottom panel.
- Secure the legs to the bottom using the screws provided — four screws per leg.
Step 8
Adjustable Shelf
- Insert four-shelf pins into the pre-drilled holes on each of the sides at the desired height.
- Slide the shelf onto the shelf pins.
Step 9
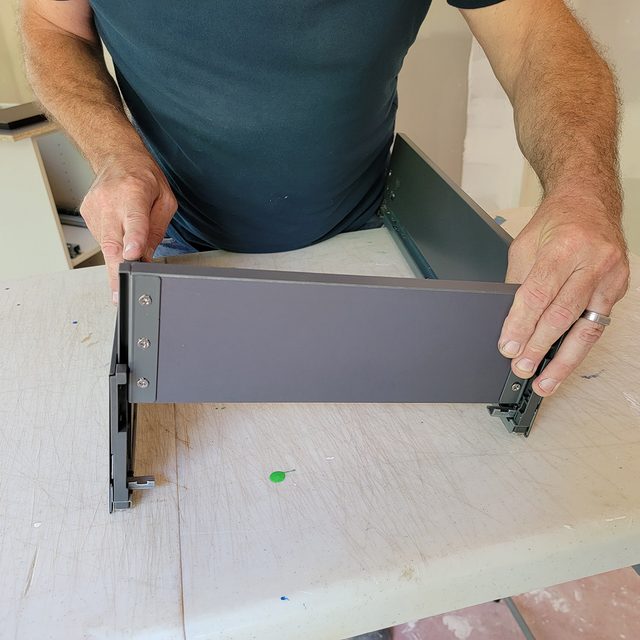
Assemble the Drawer
- Attach the two brackets to the drawer back using the six screws provided.
- Attach the two brackets to the drawer front using the four screws provided.
- Assemble the two sides to the back by sliding them onto the brackets. (See photo.)
- Insert the drawer bottom into the grooves on the drawer sides.
- Install the drawer front by inserting the brackets into the drawer sides until it clicks. (See photo.)
- Secure the drawer slides to the bottom and back using the screws provided.

Step 10
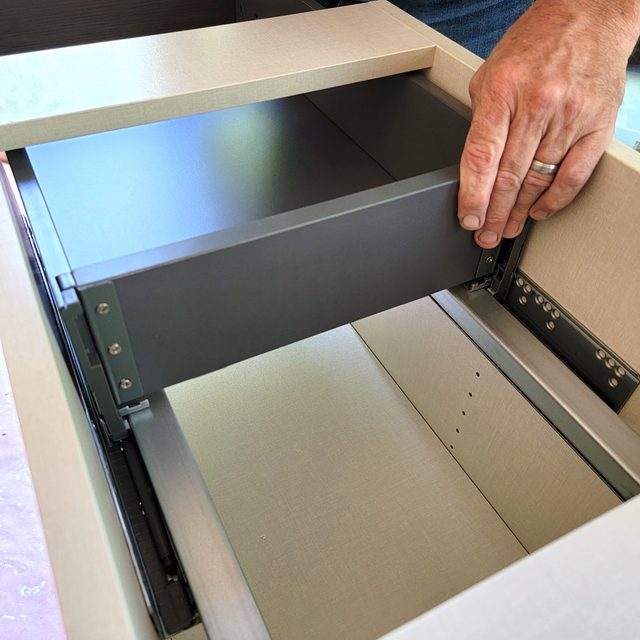
Install Drawer
- Attach the left drawer glide to the inside of the left side and the right drawer glide to the inside of the right side at the desired height, using two screws per glide. (See photo.)
- Place the drawer on the glides and push it in until it clicks and locks. (See photo.)

Step 11
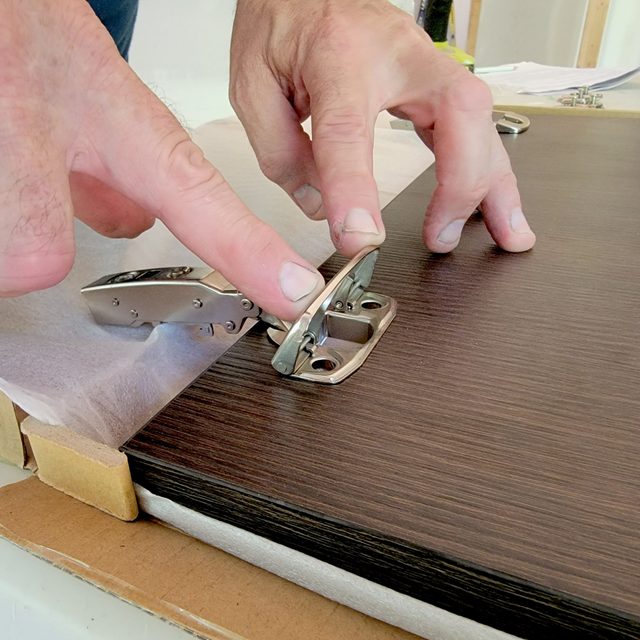
Install the Door
- Lay the door flat with the two hinge holes facing up. Insert the hinge into the hole and push the hinge cover down to secure the hinge to the door. (See photo.)
- Attach two hinge plates onto the left side into the pre-drilled holes. (See photo.)
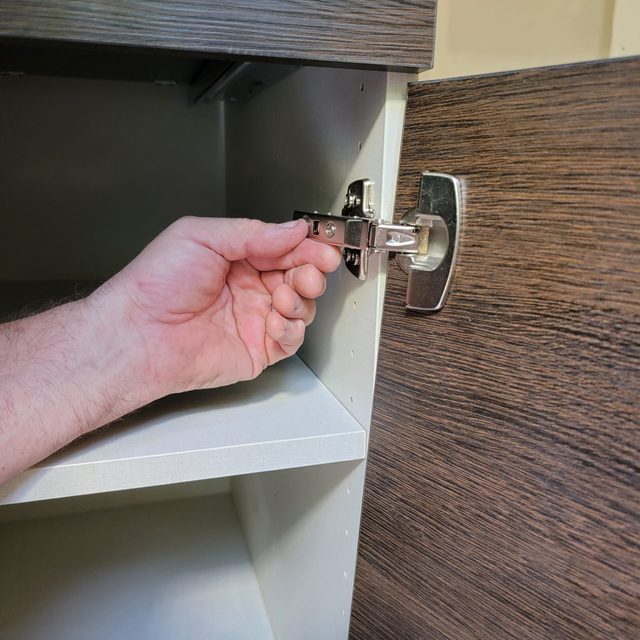
- Align the hinge arms with the hinge plates and push toward the back of the arm until you feel it click.
- Peel and stick two rubber bumpers to the inside corners of the door.

Originally Published: July 23, 2021