How to Repair a Plumbing Vent in the Attic
Updated: Jun. 30, 2017Fix a mysterious pipe joint
Repair a mistake

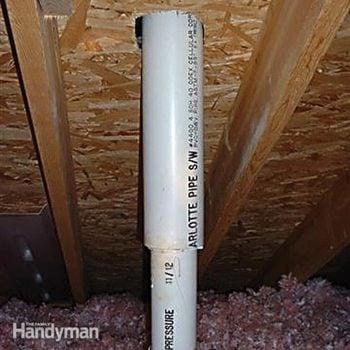
Someone took a shortcut. First of all, going from 3-in. pipe to 4-in. is unusual, although it may be required by your local plumbing code. Sometimes vents like this had to be made larger to keep frost from clogging the pipe. However, our best guess is that the plumber stuck a 4-in. pipe through the roof sheathing before the roofers came so they could flash the vent into the shingles. The plumber made the inside connections later and either didn't have a 3-in.-to-4-in. coupling handy or didn't want the hassle of making a proper connection.
Whatever the explanation, the joint doesn't meet the plumbing code and was bound to leak. Three-inch pipe doesn't fit tightly into 4-in. Caulk has to fill about a 1/4-in. gap all around. In addition, this joint creates a ledge inside the pipe where water from rainfall can collect. As you might expect, when the caulk eventually fails, a trickle of water will leak through and drip down through the ceiling below.
The easiest solution is to saw out the caulked joint, removing about 1 in. of pipe (two cuts). Then either glue in a proper 3-in.-to-4-in. PVC coupling or insert a 3-in.-to- 4-in. banded rubber fitting. Our plumbing consultants prefer the banded fitting because gluing the large PVC fitting in a tight attic space can be difficult, and the solvent fumes in PVC cement can get dangerously intense. (If you use the cement, be sure to wear a respirator with organic solvent cartridges.) The banded fitting has a metal sleeve surrounding a rubber gasket. You'll probably have to go to a plumbing supply store to find the 3-in.-to-4-in. type.
If you work carefully, you won't disturb the roof flashing. Still, it's a good idea to spray the flashing area on your roof with a garden hose. Then check the attic to make sure there are no other leaks.
Required Tools for this Project
Have the necessary tools for this DIY project lined up before you start—you’ll save time and frustration.
- 4-in-1 screwdriver
- Flashlight
- Hacksaw
Required Materials for this Project
Avoid last-minute shopping trips by having all your materials ready ahead of time. Here’s a list.
- 3- to 4-in. coupling (PVC or rubber)
- PVC glue