
How to Replace a Doorknob
 Updated: Aug. 21, 2020
Introduction
Like many things in your home, doorknobs eventually break and need to be replaced. This can happen in a few ways, but the most common is failure of the spring inside the latch mechanism. When this spring breaks, the latch can no longer engage with the strike plate and keep the door closed. If one of your doors has this issue and you're wondering how to change a doorknob, read this step-by-step guide and learn the whole process.
Tools Required
- Flat-head screwdriver
- Phillips-head screwdriver
Materials Required
- Doorknob set
Project step-by-step (6)
Step 1
Remove the Old Doorknob
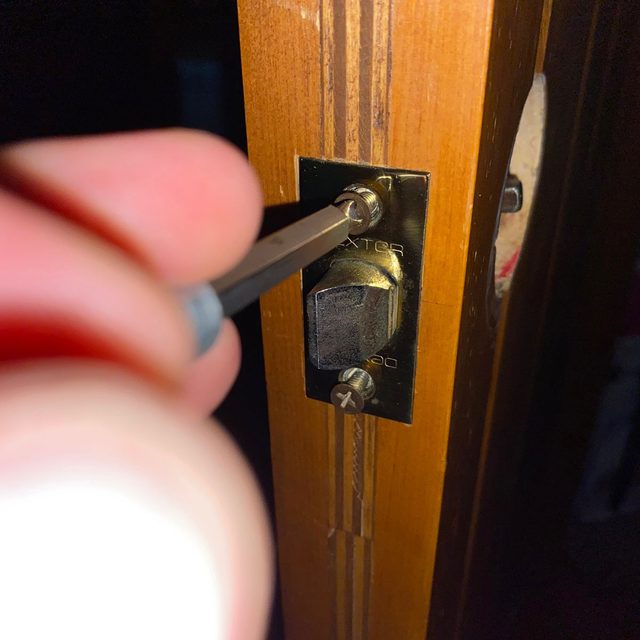
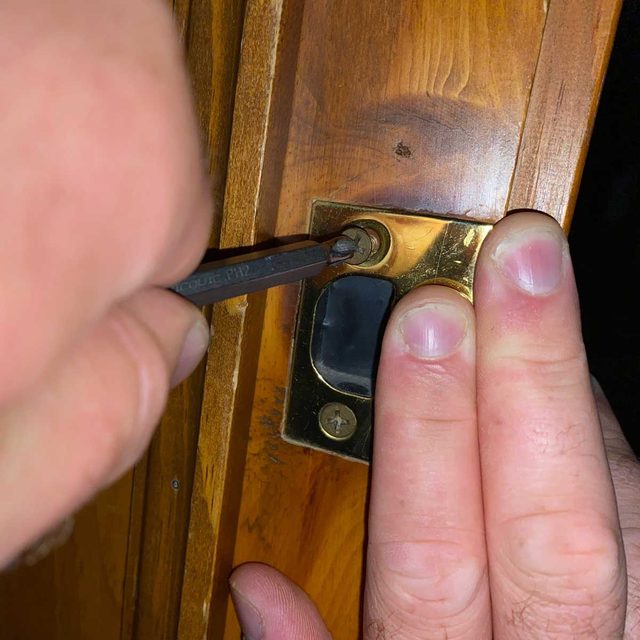
- Use a screwdriver to remove the two screws holding the old latch mechanism to the edge of the door.
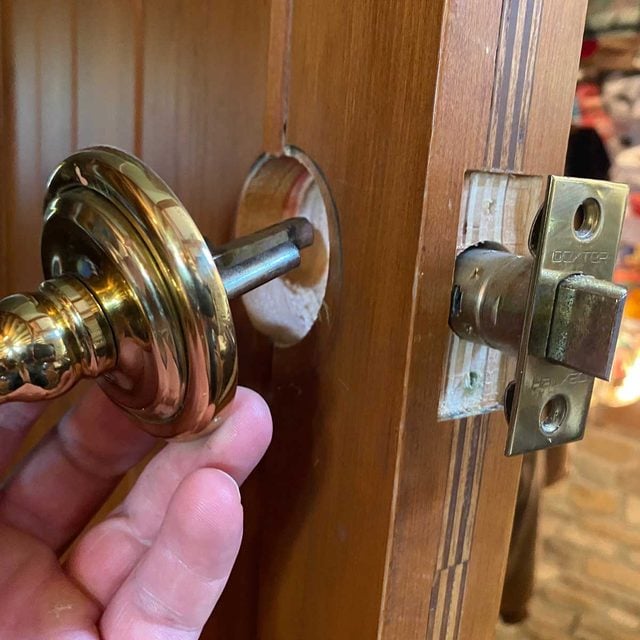
- Loosen and remove the screws holding the inner and outer door knobs in place on each face of the door.
- Remove each doorknob, making sure to keep the screws in a safe place nearby.
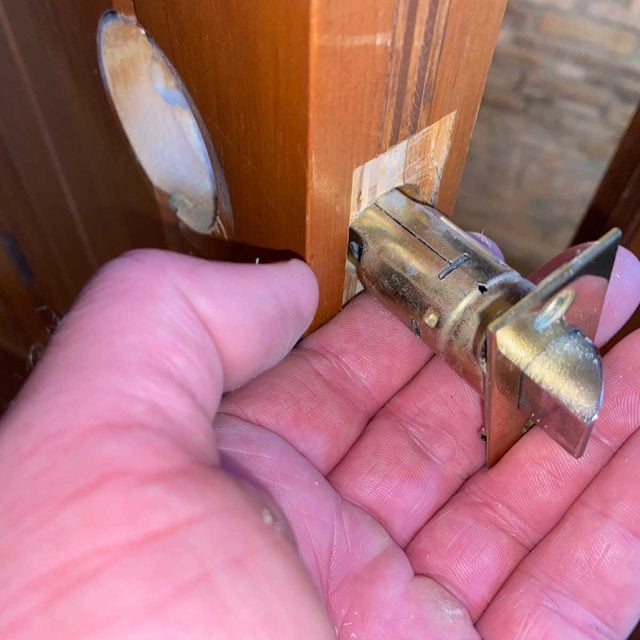
- Slide the latching mechanism out of the door once both knobs are out.
- Unscrew and remove the strike plate from the door jamb.

Step 2
Ensure Correct Backset and Insert New Latch
- Check your old latch for a number stamped somewhere on it, either 2-3/4 or 2-3/8 inches.
- This is the doorknob’s “backset,” which is the distance from the door’s edge to the center of the doorknob hole. All standard doorknobs have a backset of either 2-3/4 or 2-3/8 inches.
- Be sure to choose a new doorknob with the correct backset, matching your door and old latch.
- If you’re not sure, bring your old latch to the home improvement store when shopping for a new one.
- Insert the new latch into the hole in the door’s edge. Be sure to orient it correctly to match the direction of door swing.
Step 3
Install First New Knob
- Examine the two new knobs, then pick up the one with an extending rod designed to interlock with the latch and the other knob.
- Hold this new knob in position over the hole in the door, sliding the rod into the latch.
- Make sure the knob is centered over the hole, then thread in its screws and tighten them down.
Step 4
Tighten the Latch
- Thread the latch plate screws down, locking the latch mechanism in place.
- Test the latch spring by pushing it in with your fingers several times. If the spring is working, the latch should spring back up again each time it’s pressed down.
Step 5
Install Second New Knob
- Hold the second knob in place, making sure it’s interlocked with the rod mechanism on the first knob.
- Thread in the screws for the second knob, locking it in place.

Step 6
Install the Strike Plate
- Lay the new strike plate over the latching hole in the door jamb, matching its position with the hole and the marks likely left behind by the old strike plate.
- Make sure the bent edge of the strike plate faces the direction of the door swing.
- Tighten the strike plate screws.
- Test the new knob when everything’s installed by opening and closing the door several times.
Originally Published: August 21, 2020