How to Skim-Coat Walls
 Updated: Jun. 17, 2020
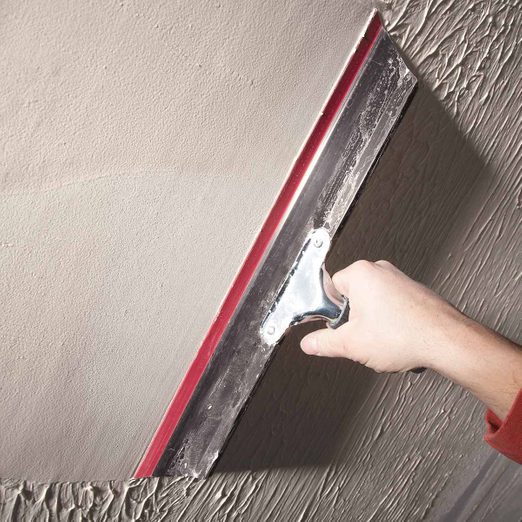
Introduction
Smooth over rough or damaged walls with a skim-coat of mud, applied with a special squeegee knife. It's easy to do and delivers great results.Tools Required
- 4-in-1 screwdriver
- Mud pan
- Paint roller
- Paintbrush
- Roller sleeve
- Safety glasses
- Sanding pole
- Squeegee knife
- Taping knife
Materials Required
- 120-grit sandpaper
- Drywall compound
- Masking tape
- Primer
How to Skim-Coat Walls
If you’re a skilled drywall taper or plasterer, you probably use a hawk and trowel to skim-coat walls. We don’t expect to change your mind if you use those tools as second hands. But if you’re a remodeler who does only occasional skim-coating to fix wrecked walls, you know it’s a tough skill to master. Plus, here’s how to choose the right joint compound for your project.
The method we show isn’t faster than traditional skim-coating — you have to do two or three coats and let each one dry in-between. But it’s idiot-proof, and the walls will end up flat and smooth. So if you’re a contractor who’s given up on skim-coating and you always call in a taper for the task, you can save on labor by tackling it yourself next time. It only takes a regular paint roller and a squeegee knife. The 14-in.-wide squeegee knife we used is called a Magic Trowel.
Before you start on this project, if you’re having some issues with your drywall check out this video:
Project step-by-step (6)
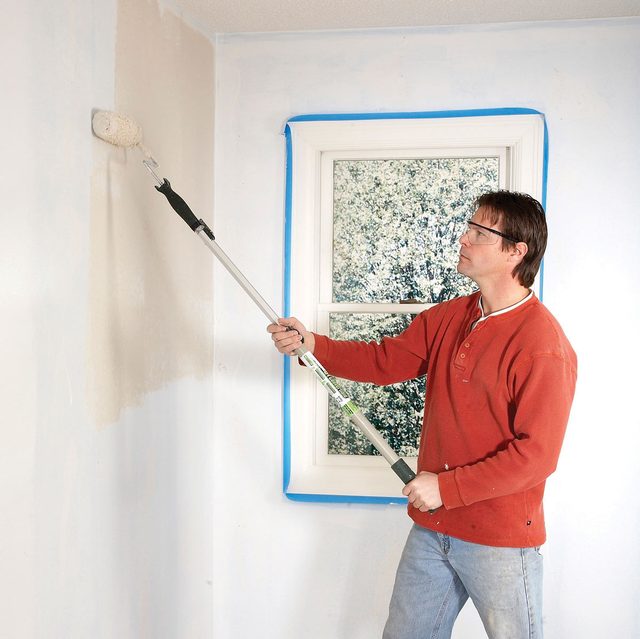
Start by Prepping the Walls
- With this method of how to retexture a wall, you don’t just spot-prime; you roll the entire wall with a stain-blocking sealer.
- Pro tip: If you’ve always used solvent-based sealers like traditional BIN and KILZ, it’s time to try one of the water-based stain killers. Zinsser’s Bulls Eye 1-2-3 primer works well, and you’ll avoid any griping from your customers about the smell.
- Roll a fast-drying, stain-sealing drywall primer on the walls. The primer seals loose paper and promotes better adhesion of the joint compound.
- These are thin layers that won’t fix holes or torn-away paper, or make uneven sections level. Patch these problems with setting-type joint compound.
- Let the compound harden (it doesn’t have to be dry) before you start skimcoating.
- Don’t rush on to the next step; let the sealer dry thoroughly before applying any joint compound.
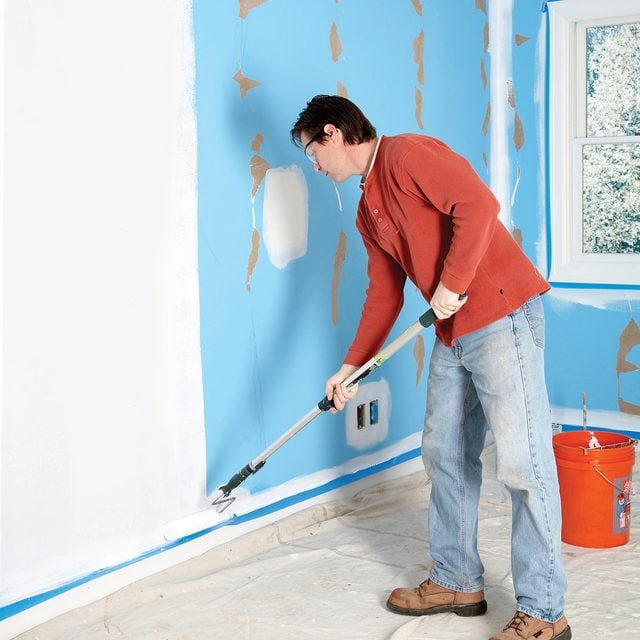
Roll on the Mud
- Mix all-purpose joint compound to about the same consistency as mud you would use for bedding tape (the consistency of mayonnaise, or just thin enough to roll on the wall).
- Pro tip: You’ll get shrinkage if you mix it too wet.
- Spread a layer of slightly thinned all-purpose joint compound on the walls with a heavy-nap roller.
- Work in small sections so you can smooth out the joint compound before it starts to dry.
- Pro tip: Don’t worry if you get cracking on the first coat; just mix the next coat a little thicker by spooning in some fresh mud from another bucket.
- Use a 1/2-in.-nap roller to roll mud on an area about four feet square.
- Pro tip: Try to keep it as even as you can so the squeegee work will go better for you.
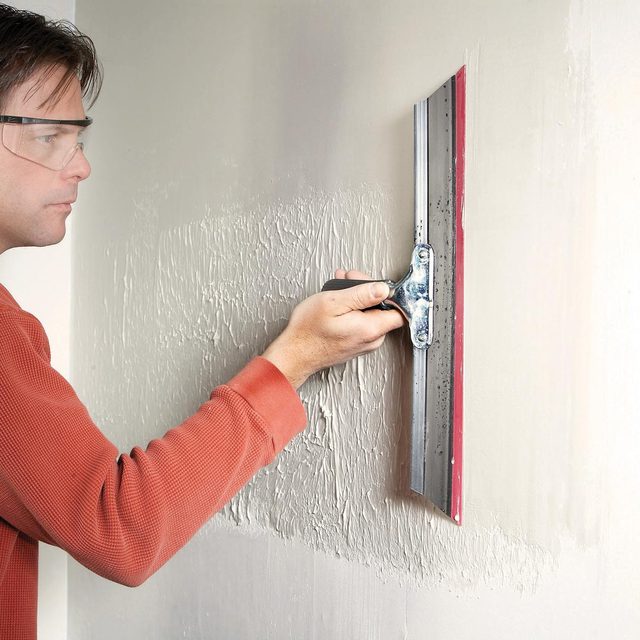
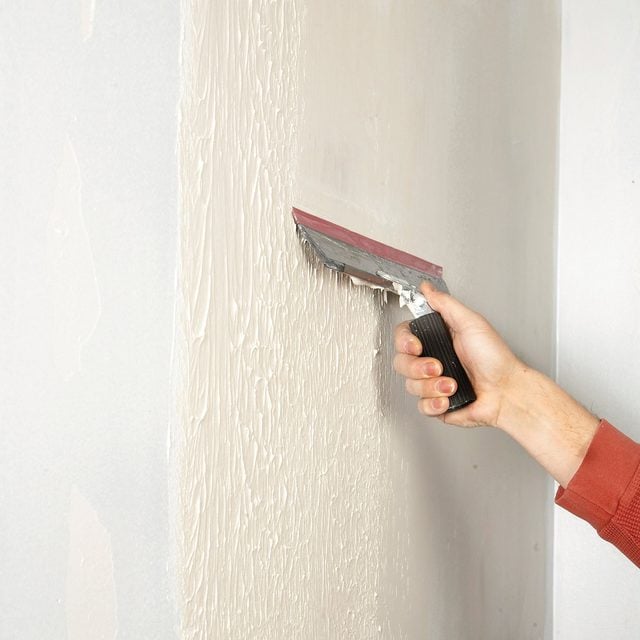
Trowel the First Coat
- Smooth the joint compound with the squeegee knife.
- Keep a damp rag and a mud pan handy.
- Pro tip: Use the rag to wipe the blade after every few strokes and the mud pan to wipe off excess mud that builds up on the blade.
- Starting at the top corner, set the squeegee knife against the wall and pull it down.
- Overlap each vertical pass until you finish the section.
Pull up from the Bottom
- You may have to go over some areas a few times. It won’t take you long to get the hang of using the squeegee knife.
- When you’re done with the top section, roll joint compound on the lower half and smooth it by pulling the trowel upward.
- Pull the squeegee knife from the bottom up.
- Touch up along the edges as you go.

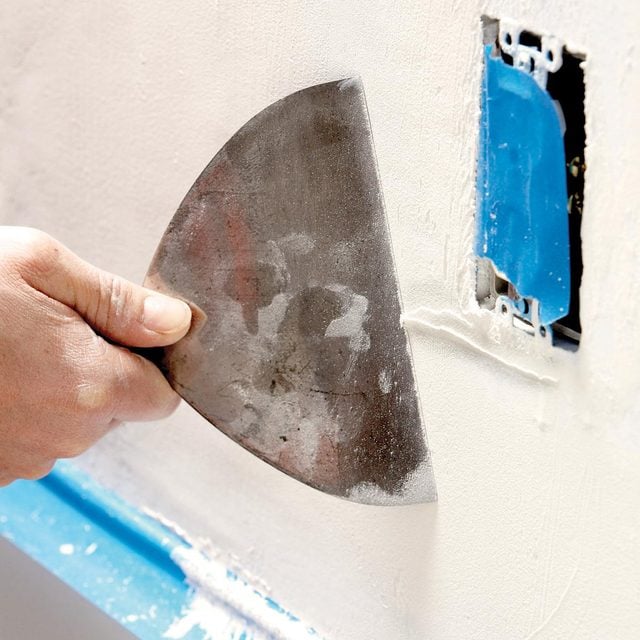
Scrape Off Lumps
- Let the first coat of joint compound dry.
- Pro tip: To speed up drying time, especially if the air is humid, bring a space heater and a box fan or two.
- You don’t have to sand between coats; just knock off lumps or proud mud lines with a 5- or 6-in. putty knife to avoid streaks in the next coat.
- Brush off the wall and you’re ready for the next coat.
Change Directions for the Second Coat
- It sounds like a lot of work to apply two or three coats of joint compound, but the process is quick and the thin layers dry fast.
- Pro tip: Give this squeegee-like taping knife a shot for smoothing out tape joints next time you tape. It tapers the edges and you’ll have no trowel or taping knife marks.
- As you know, the smoother you get the wall, the less sanding you’ll get stuck with.
- Trowel off each successive layer at a right angle to the previous one.
- If you still see indentations or imperfections after the second coat dries, trowel on a third coat.
- After the last coat dries, pole-sand the wall with 120-grit paper.
- If you have too many peaks and valleys, hit the walls with 100-grit first.