Epoxy Garage Flooring Tips
Updated: Mar. 30, 2021An accurate slab moisture test is the key to a long-lasting floor
Perform an accurate moisture test


When epoxy paint on garage floors peels up prematurely, the problem is most likely caused by too much slab moisture. Unfortunately, the widely used plastic sheeting test (taping a sheet of plastic film to the concrete and checking for condensation droplets after 24 hours) isn’t reliable. A better method is to use calcium chloride–based testing kits (about $40 for the three kits you’ll need).
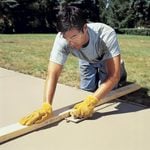
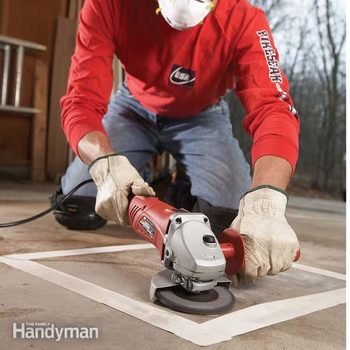
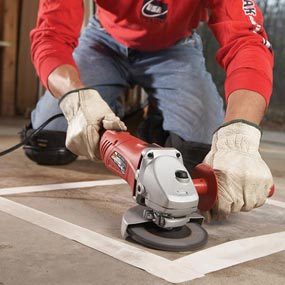
For the most accurate results, conduct the test during the spring when the soil is damp and low humidity is forecast. Dry air draws moisture up through the concrete, so you’ll be getting “worst case” results that time of year. Place two of the test kits at least 5 ft. away from walls, and the third test kit in the middle of the floor. Follow the surface preparation instructions to the letter. That means you’ll have to grind off about 1/32 in. of concrete to remove any surface sealers or hardening agents (Photo 1). Once you’ve ground off the top layer, use the pH test liquid and strips included in the kit to determine the acidity (pH) level of the freshly exposed concrete. The pH level should be 6.5 to 7. If yours isn’t, check with the paint manufacturer to see if its paint will stick.
If the pH level checks out, leave the test sections open to the garage air for 24 hours before starting the test. Place the calcium chloride dish in the test areas and apply the sealing dome (Photo 2). After the chemical absorbs moisture for 60 to 72 hours, cut openings in the domes and remove and seal the dishes. Then mail them off to the testing lab for analysis (included in the kit price).
The maximum amount of water vapor penetration is 3 lbs. per 1,000 sq. ft. If your results show more than that amount, don’t even consider applying epoxy or any other paint-type coating to your floor. Instead, live with your old boring concrete or consider a snap-together tile floor.
However, if your tests hover around the 3-lb. mark, your results are borderline. Consider calling in a professional testing lab to conduct a more rigid (and accurate) test. Find one online or in the yellow pages under “Testing Laboratories.”
For moisture tests, search online for “calcium chloride moisture tests.”
Required Tools for this Project
Have the necessary tools for this DIY project lined up before you start—you’ll save time and frustration.
- Angle grinder
- Dust mask
- Safety glasses
- Utility knife
Required Materials for this Project
Avoid last-minute shopping trips by having all your materials ready ahead of time. Here’s a list.
- Masking tape
- Moisture tests