Want to Level Up Your Thrift Store Finds? Try Hydro Dipping
 Updated: Feb. 23, 2023
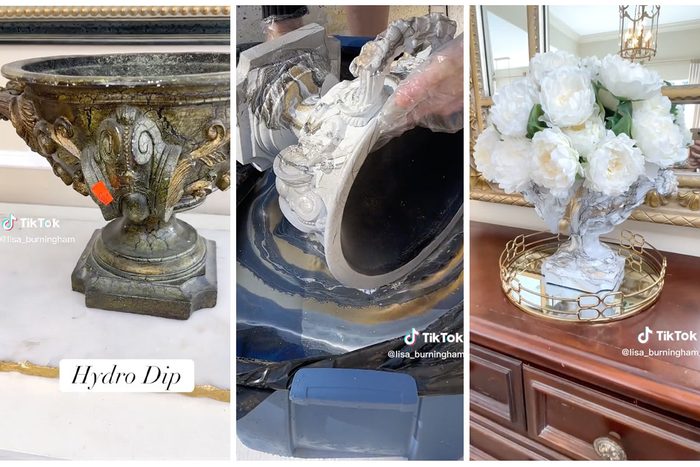
Learn how hydro dipping can take your thrifted home decor from basic to beautiful with just a few supplies.
If you’re like us and love a good thrift store find, prepare to be amazed by this easy hack to level up your purchases. Hydro dipping makes it possible—and easy—to transform thrifted home decor from basic to beautiful.
You already know that there are plenty of painting techniques you can use to reimagine your belongings, but we’re willing to bet hydro dipping will quickly become one of your favorites.
What Is Hydro Dipping?
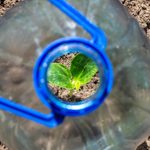
Hydro dipping is an easy, affordable way to infuse personality and color into your thrift finds. You can try it on a vase, a decorative trinket dish or a piece of wall art. Just be mindful that it isn’t necessarily food safe, so stick with items you’re not planning to use for eating or drinking.
This technique is a popular way to level up your secondhand home items because you can add a unique flair to your objects. Say, for instance, you love a heart-shaped trinket dish you find at a thrift shop but don’t love its dated color that doesn’t match your other decor. Well, hydro dipping can take that old vase from boring to beautiful in a matter of minutes.
Another perk of hydro dipping is that you’ll never get the same results twice. Each hydro-dipped item is one-of-a-kind, so it’s a perfect keepsake for your home or to give to a loved one. If you do keep it in your home, prepare to get plenty of compliments!
With this method, you have the opportunity to customize the colors you use, which also makes it appealing. Plus, you only need a few products, many of which you may already have at home. This is the perfect DIY to attempt when you have a few spare hours on a Saturday.
How to Hydro Dip
To start hydro dipping, first, gather all of your supplies. You’ll need water, a vessel to dip the item in, gloves and spray paint. We suggest working with a large plastic bucket or storage tote, depending on the size of the item you’re hydro dipping. And as far as the spray paints go, pick three colors that work well together.
This video by TikTok creator @lisa_burningham does an excellent job walking us through the process, so check it out for an overview of the steps you’ll take:
@lisa_burningham Have you ever hydro dipped? 🤯 #homedecor #thritflip ##thriftflipdecor #hydrodipping #hydrodip #hydrodipper #diy #diydecor #diyinteriordecor #viral #fyp #viraltiktok #lisaburningham ♬ Hey It’s Me – Official Sound Studio
- Give the item a light, even coat of white spray paint. This provides you with a neutral canvas, which is a big plus. Here’s everything you need to know before spray painting, and some tips for perfect spray painting.
- Once the coat is dry, it’s time to begin the fun part! Grab your vessel and place a contractor’s bag inside as a lining so none of the paint soaks through and dyes it. Then, you’ll fill the bag all the way up with water.
- Take your spray paints and spray them directly into the water. Be sure to alternate so you make a bullseye effect—this is crucial to ensure your hydro dipping comes out as visually appealing as possible.
- Put your gloves on and gently dip your item into the water with spray paint. Once it’s in the water, don’t be afraid to move it around. The paint should adhere to the item and create a gorgeous, marble-esque effect.
- Once you’re happy with the finished product, remove it from the water.
Hydro dipping is as simple as that, so enjoy getting crafty with your thrifted pieces!