
How to Clean Paint Rollers and Tray
 Updated: Feb. 22, 2023
Save time and money by learning how to clean your paint rollers and tray the right way—and without a lot of effort!
Our editors and experts handpick every product we feature. We may earn a commission from your purchases.
Introduction
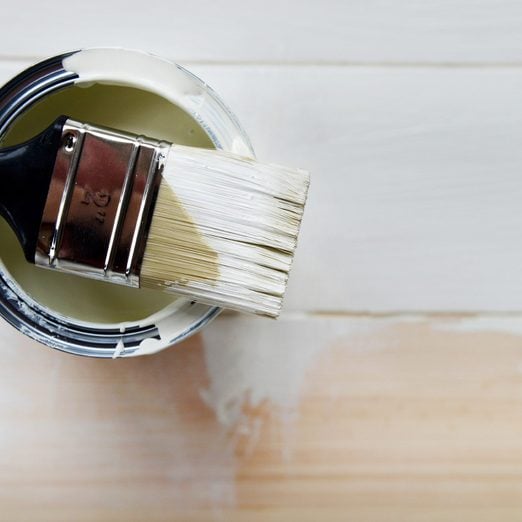
Although painting remains the cheapest method for refreshing your home—either inside or out—the cost of materials and tools continues to rise. Don't be tempted to pass on quality paint brushes and rollers. You need them to get the best results. Buy the good stuff with the intent to clean and reuse them. In fact, the nap on top-quality roller covers is anchored to a plastic tube and uses glue designed to stand firm through a rinse. With that in mind, let's see how to clean paint rollers and tray!Tools Required
- 5-in-1 tool
- Bucket
- Firm-bristle brush
- Paint brush comb
- Plastic-bristle brush
- Putty knife
- Rubber gloves
- Safety glasses
Materials Required
- Dish detergent
- Disposable plastic bottles
- Mineral spirits
- Newspaper
- Rags
- Warm water
Project step-by-step (6)
Reclaim Excess Paint
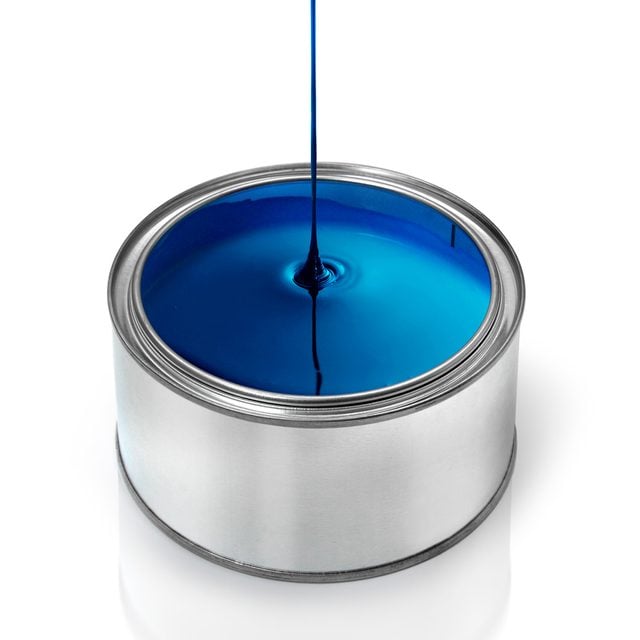
The first thing to know about how to clean your paint rollers and tray is that you have more excess paint than you think. A paint roller works as a very capable paint sponge. Start your cleanup by recapturing the excess paint. This step could be the difference between finishing the job with paint you have on hand or having to buy another expensive bucket.
Use the curved edge of a 5-in-1 tool or a putty knife to scrape excess paint out of the roller and back into the can. Work using long strokes, but not with so much force that dried bits of paint fall off the roller cover and into the bucket.
Watch this video to see our best painting tips from the pros:
Roll Off More Coating

The more paint you can get off of the roller cover before you wash it, the easier your job becomes. Find a thin spot on the wall or use newsprint to work the roller until it stops releasing paint.
Wash the Roller Frame

You need to know what kind of paint you’re using if you want to know how to clean paint your rollers and tray. At this point, the procedure for cleaning up latex paint and oil paint diverge. In either case, don your rubber gloves and remove the cover from the roller. Set the cover aside for a moment and clean off the roller frame—immediately. The key for easy cleanup of the roller frame is to do it while the paint is wet. Keep in mind: Paints with higher gloss are tougher jobs.
For oil paint: Use some thinner or mineral spirits on a rag to scrub off the paint.
Caution: When cleaning with solvent, wear eye protection.
Clean the Roller Cover
For latex paint: Submerge the roller cover in a bucket of warm water with a few drops of detergent added. Work the paint out of the nap using your hand. Rinse the cover with a stream of clean water or in a fresh bucket. Shake the excess water out of the cover and stand it on its end to dry.
For oil paint: Fill a container with enough paint thinner or mineral spirits to submerge the roller cover. Choose the smallest container possible so that you use the minimum amount of solvent.
In the solvent, work the cover with your hand to release the paint. After 5 to 6 minutes of agitation and rest in the solvent, remove the cover and work the excess out and back into the container.
Carefully pour the used solvent into a disposable bottle. Wipe out the container with a rag or paper towel, then rinse the cover with clean solvent in the container. Remove the cover, allowing excess solvent to drip back into the container, then let it stand in a well-ventilated area to dry for a few minutes. Add the used solvent to the used-solvent bottle you started. Wash the cover in warm water and a few drops of dish detergent, and stand on end to dry.
NOTE: Do not throw out the bottle of solvent! Allow the paint solids to settle, then pour off the (relatively) clean solvent into a bottle reserved for reclaimed solvent and save for reuse. Allow the remaining solvent in the dirty bottle to evaporate, then dispose of it in the trash.
Clean the Paint Tray
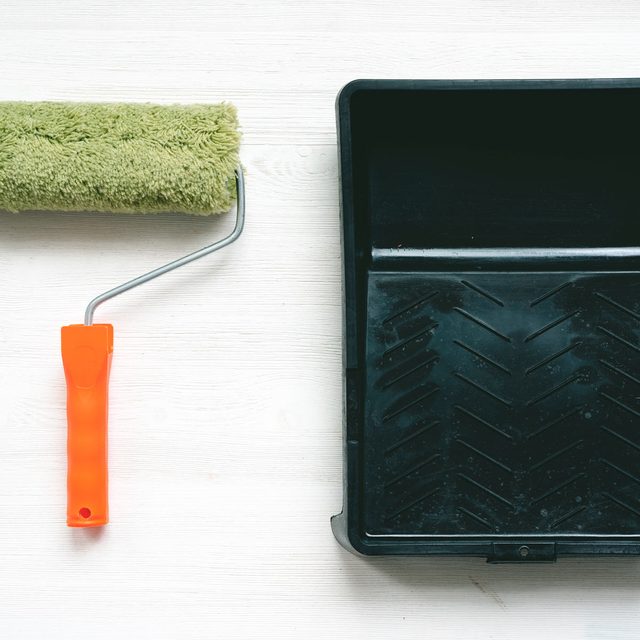
Drain excess paint back into the can.
For latex paint: The rest of the job is very easy—just let the paint dry completely, and peel it out of the tray. Scrape up any cling-ons with your 5-in-1 tool. (If the tray needs to be reused immediately, wash it in warm, soapy water instead.)
For oil paint: Wipe out the tray with a rag or paper towels. Add some solvent to the basin, and use a brush to work the solvent around the tray, loosening the paint. Use the edge of a putty knife to scrape where necessary. Pour the solvent into your scrap bottle to be reclaimed as before, and wipe again. Remove the last of the pigment, inside and out, with some solvent on a rag or paper towel, then wash with warm, soapy water, and let dry. Finish by cleaning the brush with a brush comb and some warm, soapy water.
Save Time by Not Cleaning Everything
This tip doesn’t directly fall into the category of how to clean paint rollers and tray, but still deserves mention, as it can save you from having to do so. If a project breaks overnight or over a weekend, simply store your roller without cleaning out the paint. Just take it out of the roller handle and cover with plastic. Any plastic film that seals air away from the wet paint will do the job, such as kitchen wrap, a plastic grocery bag or a gallon-sized zip-top bag.
Just make sure that the plastic contacts the roller cover surface everywhere. Pop this bag inside a zip-top bag, squeeze out the air and seal. This goes into the refrigerator overnight, or rather the freezer, if it’ll need to last over a weekend. Let the cover come to room temperature again before resuming work.