Saturday Morning Workshop: How To Build A Collapsible Dog Ramp
 Updated: Aug. 25, 2020
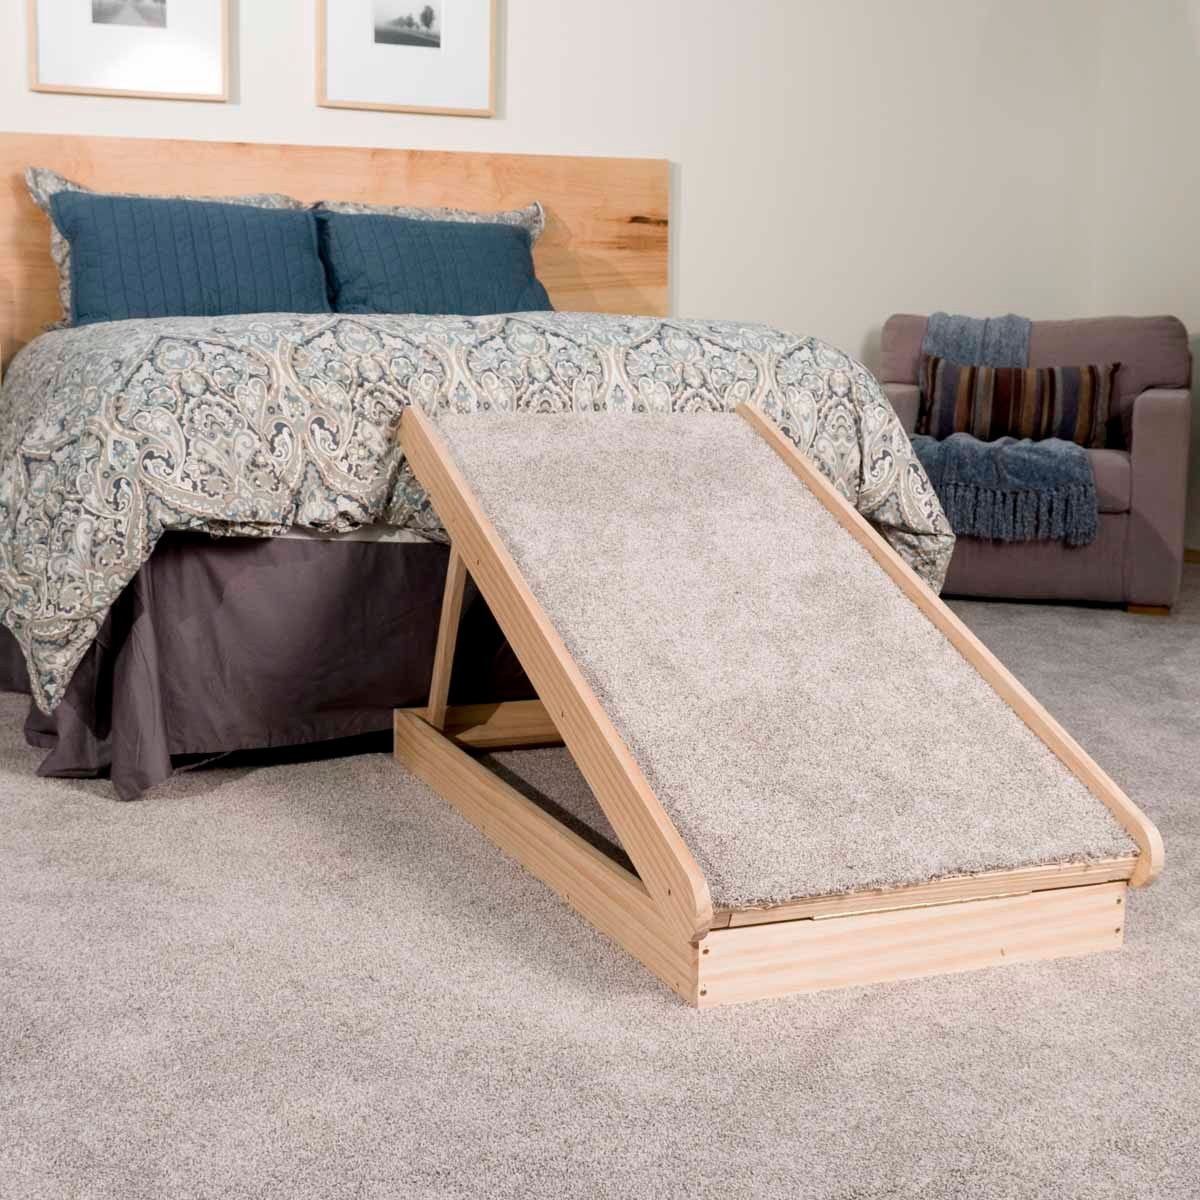
A few hours
Intermediate
$20-50
Introduction
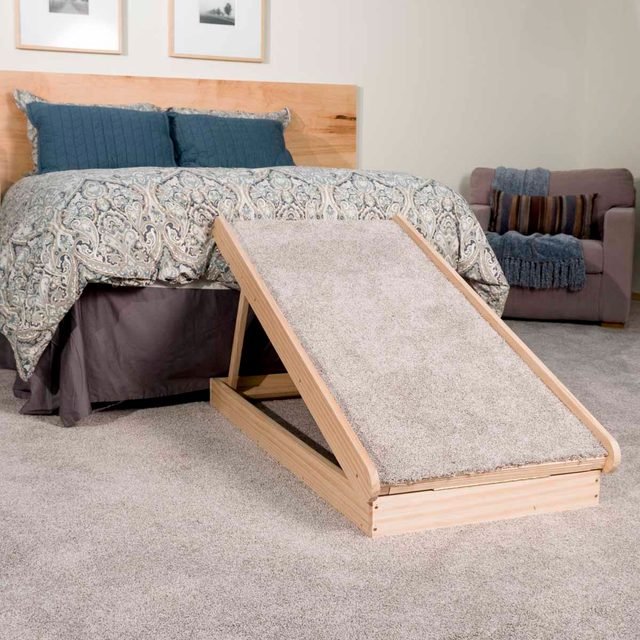
We all love our dogs to be at our side, but when they age and can no longer jump up to a bed or other places they once could, it can break an owner’s heart. Or your pup may simply be too small to access those places throughout its life. This bedside dog ramp is a sturdy, reliable project that you can build in an afternoon.Tools Required
- Clamps
- Drill/driver
- Jigsaw
- Miter saw
- Staple gun
- Wrench
Materials Required
- 1-1/16” x 12” Continuous Hinge
- 1-1/4” Construction Screws
- 1/4” Nylon Nuts (2)
- 1/4” Washers (4)
- 1/4” x 3-1/2” Carriage Bolt (2)
- 2’ x 4’ 1/2” Plywood
- 2’ x 4’ Piece of Carpet
- 2” Construction Screws
- 8’ 1x2 Lumber (3)
- 8’ 1x4 Lumber (4)
- Staples
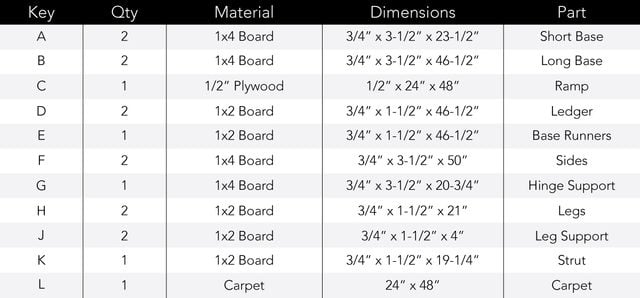
Cutting List
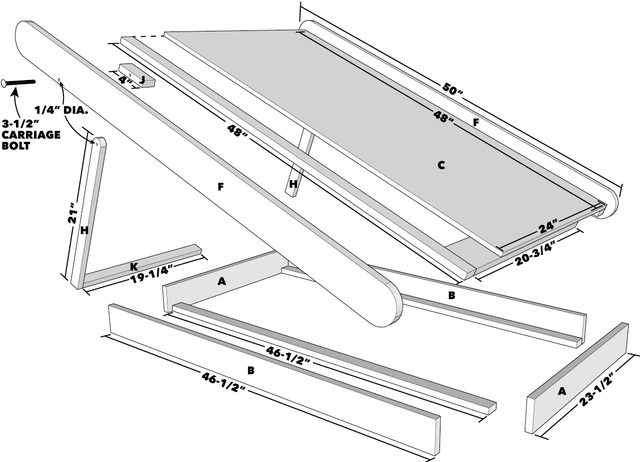
Tech Art
Project step-by-step (7)
Cut boards to size
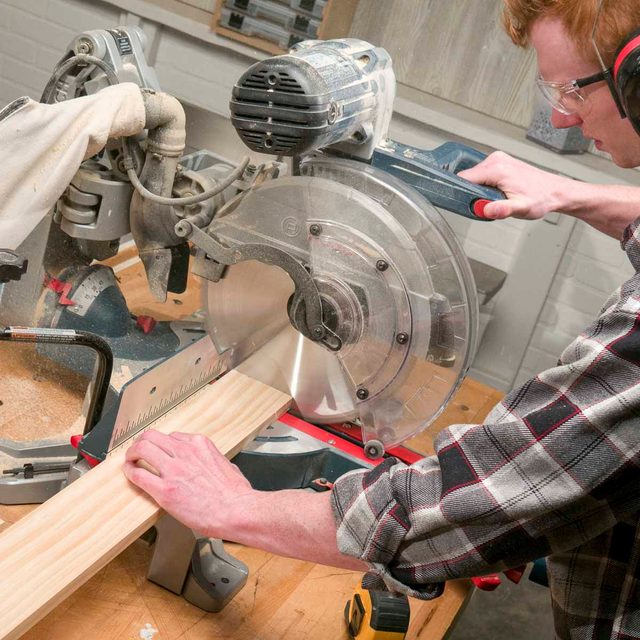
Follow the Cutting List and crosscut your boards with a miter saw to the correct size.
Round ends of the sides (part F) with jigsaw

Mark 1-3/4-in.-radius circles at the ends of the sides (part F). I traced a 1-qt. measuring cup to get the arc. Clamp the board to the work surface and cut along the line with a jigsaw. Sand the arcs smooth with low-grit sandpaper.
Fasten together the base
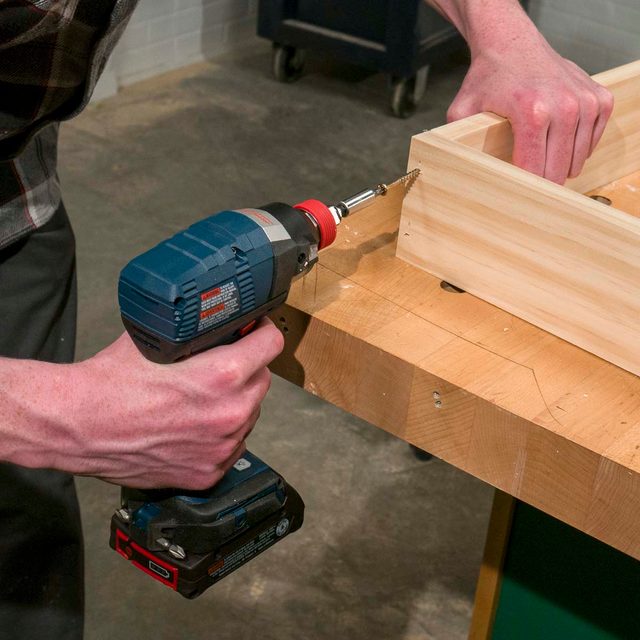
Drill pilot holes and fasten the long base parts (B) into the ends of the short base parts (A) with 2-in. construction screws. Attach the base supports (part E) to the rest of the base. These pieces will shore up the base and give the legs a place to sit.
Create the ramp
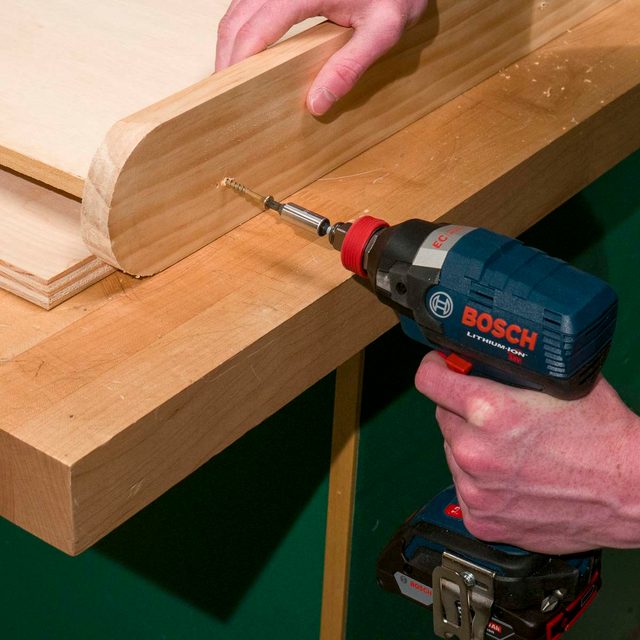
Drill pilot holes and fasten the struts (part D) to the sides of the plywood ramp (part C) with 1-1/4-in. construction screws. Set the ramp on a 3/4-in. scrap piece to get the correct spacing. Lay the sides (F) against the edge of the ramp and fasten with pilot holes and 2-in. construction screws. I used four screws for each side.
Attach the ramp to the base with the hinges

Clamp the hinge support (part G) to one of the short sides of the base. Mark the centers and make sure they match up when clamped. Fasten the 12-in. hinge to both the base and hinge support. Flip the hinge closed and use a scrap 1×4 and shim to keep the hinge support flat. Lay the ramp assembly onto the base, plumb the hinge end, and fasten the ramp to the hinge support with five pilot holes and five 1-1/4-in. construction screws.
Fasten the legs to the ramp
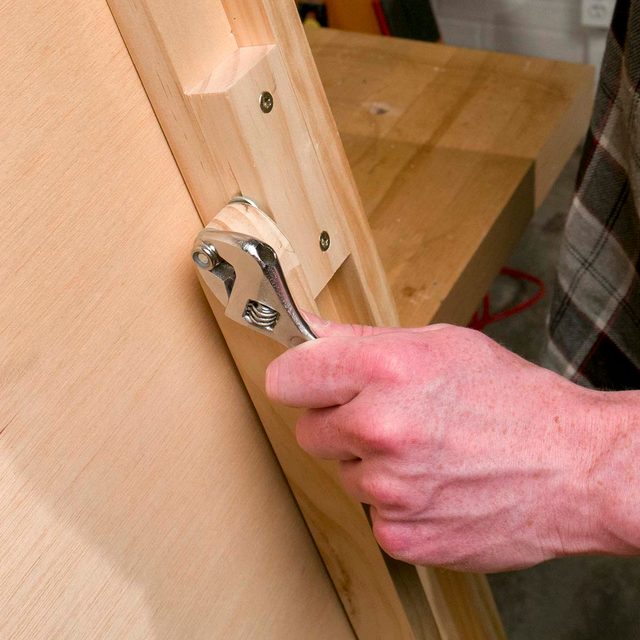
Round one end of the 1×2 leg boards (part H). Gang up the two legs and drill a 1/4-in. pilot hole into that end of the boards. Attach the leg supports (part J) with two 2-in. construction screws 3 in. from the non-hinge end of the ramp. Drill a 1/4-in. pilot hole through the ramp sides (F) and leg supports (J). Fasten the legs 5 in. from the end of the ramp to the inner edge of the leg supports with 1/4-in. x 3-1/2-in. carriage bolts, 1/4-in. washers and 1/4-in. nylon bolts.
Staple on the carpet
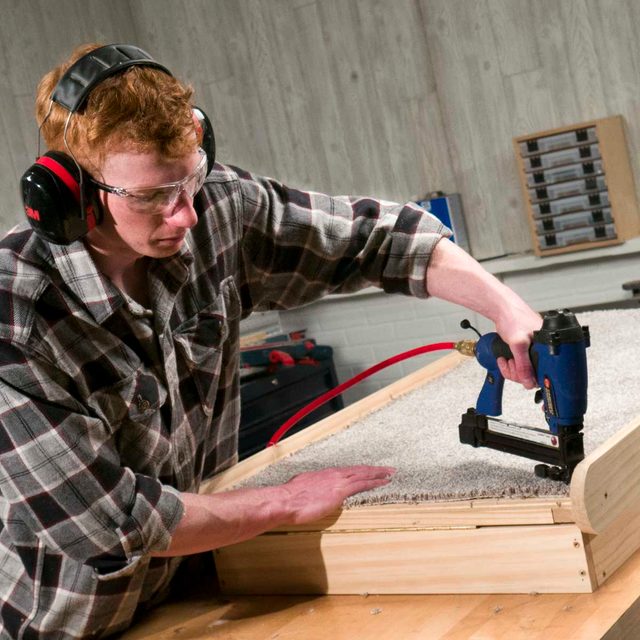
Cut the carpet to size (part L) with a utility knife or carpet cutter. Staple the carpet to the ramp with a staple gun.